

Managing a blog can be time-consuming, but creating content that engages and interests your customers is worth it. If you have a blog on Shopify, the good news is that it’s simple to categorize and edit your Shopify blog posts. So, how do you edit blog categories on Shopify?
To edit blog categories on Shopify, navigate to “Blog Posts” and select the “Manage blogs” button. You can select a blog and click the “Organization” tab to add or remove categories. You can also drag and drop blog posts within the category hierarchy so that certain blogs appear first.
This post will show you how to edit blog categories on Shopify in just a few simple steps.
How to edit blog categories on Shopify
1. Managing your blogs
The first step involves navigating your Shopify admin section and going to the Blog Posts page. Here’s a step-by-step guide:
- Sign in to your Shopify account
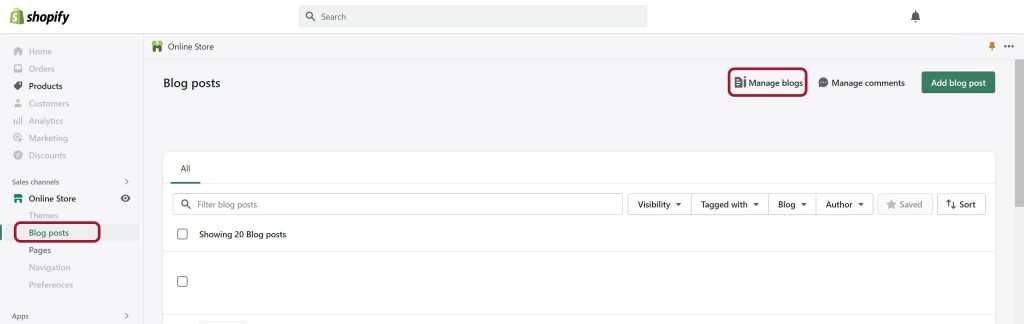
- Select “Blog Posts” in the left-hand menu. This will take you to a page where you can see your existing blog posts.
- Find & click “Manage blogs” to go to the list of all the blogs you have created on your shop.
2. Creating a category
Here, you will create a new category to define what blogs will show on the category page.
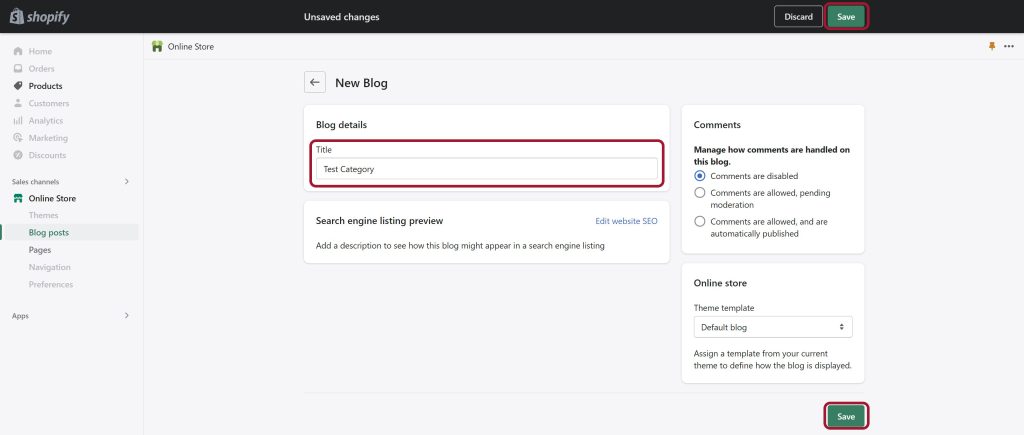
- Once you’re on the “Manage Blogs” page, select “Add Blog“, This will take you to a page where you can create a new blog category.
- Name your new category and click “Save” at the top or bottom of the page. (They both do the same thing).
Tip: Don’t confuse the options “Create new blog” & “Create new blog post“. When creating a new post on your site, use the latter option. But when creating categories, use the former option
Categorizing blogs using tags
From the list of blogs, find the one you want to edit and click on its name. After the blog post opens, follow these steps:
- Look for the “Organization” tab at the bottom right-hand side of the post. It will show you a list of properties, including the author’s name
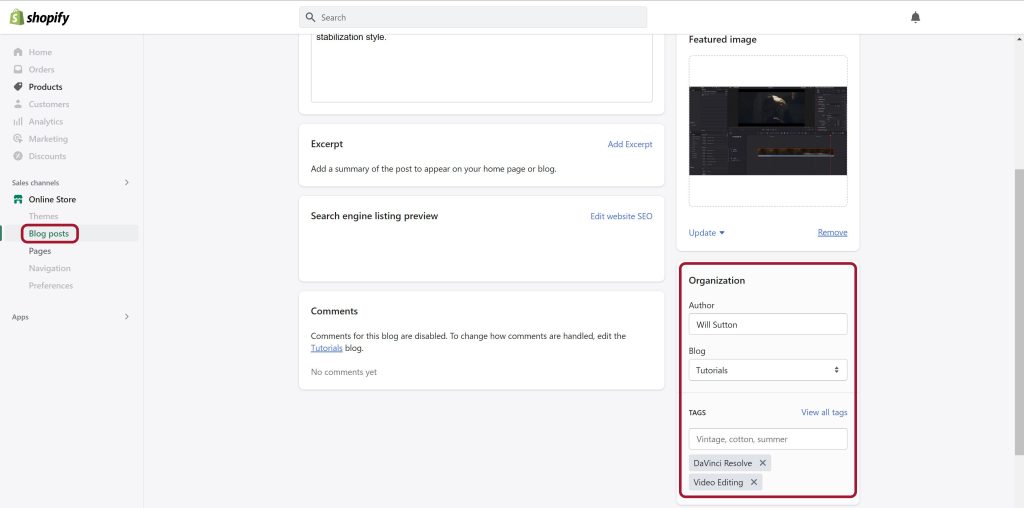
- Click the “View all tags” link in the menu. That will show you a list of all the categories created for your blog posts.

- To remove a category or tag, click the “X” next to one of the applied tags in the new pop-up window.

- To add a new category, enter its name in the “Tags” field and click on the “+” button, or hit “Enter“.

- After making the changes you want, click the “Save” button. You’ll find it at the bottom of the pop-up window.

Tip: Adding categories for your blog posts is an excellent way to improve your Shopify store’s SEO (search engine optimization). It also greatly improves the user experience on the site, which is also incredibly important for SEO performance.
The keywords you use in these tags will help search engines find and rank your pages. Here are a few more tips for optimizing your blog content:
- Make your blog posts personal to build trust and relationships with your audience. For example, mention your own experiences, struggles, and wins so that readers can relate to you.
- Incorporate keywords into your blog posts. Use tools like the Google Keyword Planner to find ideas for potentially profitable keywords.
- Focus on creating high-quality content that will engage your readers. Quality is more important than quantity, so take the time to ensure each post is well-written and helpful.
- Use descriptive titles relevant to both search engines and your potential customers. The more you optimize your blog posts, the greater your chance of attracting new customers and growing your business online.
FAQ
Are tags & categories the same on Shopify?
Essentially, yes. Tags help you to categorize your blog posts under specific sections on your Shopify store. For example, the “Video Editing” tag will categorize your blog under video editing.
Why is there no “blog posts” option in my Shopify dashboard?
You still haven’t set up your store fully. Finish the process of creating your store and add a blog section. Then it should appear on your dashboard.
Conclusion
Organizing your blog’s categories is a great way to keep your content organized and easy for readers to navigate. Luckily, Shopify makes it quick and easy to edit blog categories from your shop’s admin panel. Follow the guide above, and you’ll have everything updated quickly!