

It always feels great when you manage to sell out a product on Shopify. At the same time, you must ensure your Shopify account accurately reflects that product’s status. You can easily mark items as “sold out” by following these simple steps.
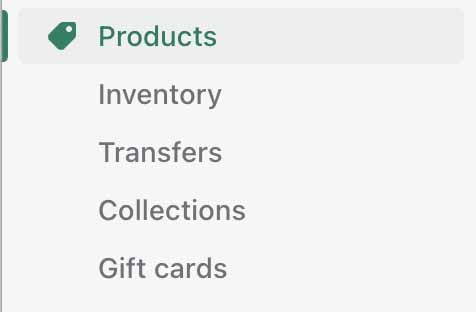
Here’s how you can mark items as sold out on Shopify:
- Log in to the Shopify Dashboard
- Select “Products”
- Choose the product you wish to update
- Scroll down to “Inventory”
- Click on the number under the “Available” column
- Enter 0 to show no products are available
- Verify the updated quantity and click Save
Shopify makes editing product quantities a breeze and gives you the tools you need to manage your product availability. Read on for a more detailed explanation of the steps above.
Read our tutorials if you want to learn more about Shopify. Learn how to find the Shopify product ID.
Recommended Shopify apps (+ built by us)
- Check our own hand-crafted Shopify app to sell digital downloads on Shopify.
- Also, check our guide if you’re interested in finding more must-have Shopify apps.
Considerations before starting
You will need to consider what you are going to do with the products after they are set to “Sold out”.
- Are they permanently sold out? If so, you should consider reading our guide on how to hide a Shopify product without causing SEO damage.
- How to see the inventory history of a Shopify product in case you need to see changes
- Consider information your customers when you are going to be receiving new stock for this product on the product page to get them to come back
- Use a Back-in-stock notification Shopify app to collect an email address to inform customers when they are back in stock
How to set products to “Sold out” in Shopify
1. Log in to Shopify & go to your dashboard
The Shopify Dashboard is the “back office” mode that houses all controls for managing your business. Once you log in, the first screen you’ll see is the “home” page. You can manage inventory, edit prices, run reports, and set up your store from this page.
2. Select “Products”
The product screen in the Shopify Dashboard allows you to add new products, make changes to existing ones, and delete products that are no longer available.
You can also run helpful reports to give insight into your sales. Some of these reports include:
- Product Sell-Through Rate
- Days of Inventory Remaining
- Inventory Value
3. Select the product you wish to set “Sold out” to
The product screen will display all of your current products loaded into Shopify. You’ll need to select which item you wish to update. Once you’ve selected the correct product, there will be several editing options for you to choose from. In this case, choose “Inventory.”
If you are using variants, you will need to go to the variant section and select your chosen variant.
4. Scroll down to “Inventory”
As its name implies, the “Inventory” page is where the changes are made to inventory quantities. Here, you can also run reports to track current inventory and review historical inventory changes. Tracking these metrics helps prevent overselling and gives you an idea of when you need to restock.
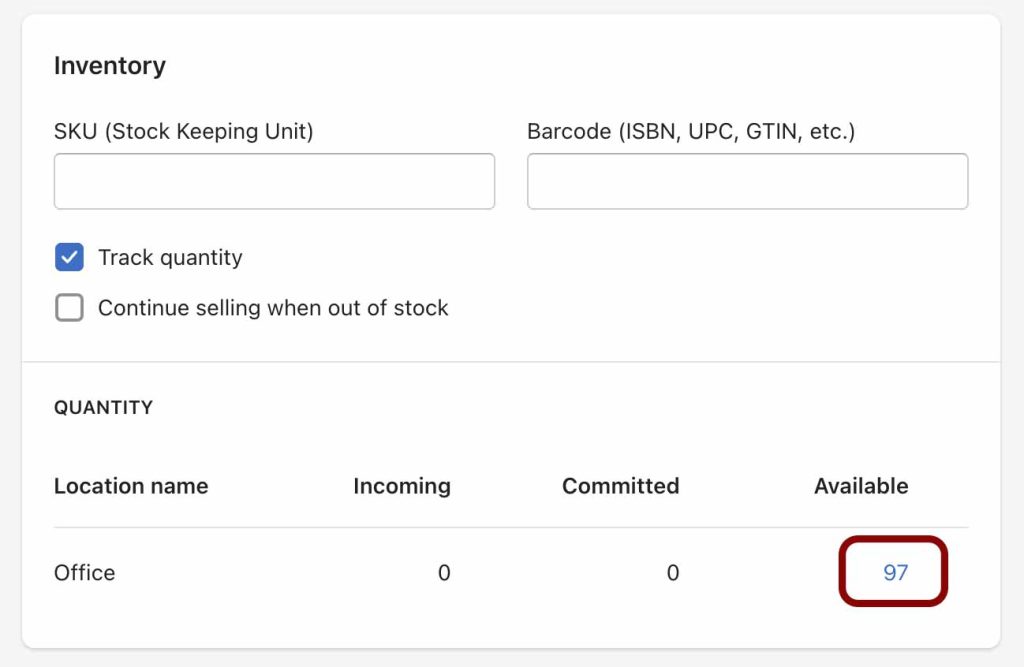
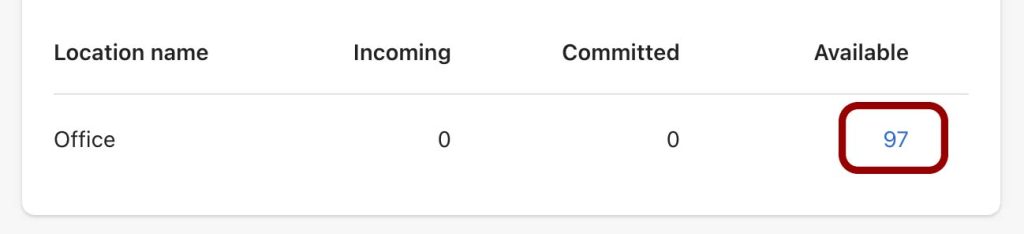
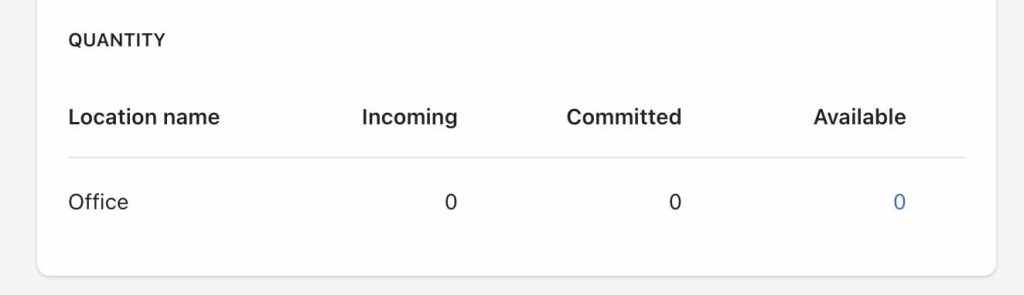
5. Click on the number in the”Available” column
You’ll need to change the quantity available to mark your product as sold out.
When you select the number as shown in the red box above, Shopify will direct you to an editable modal where you can adjust the amount by adding, subtracting, or completely resetting the available number.
6. Change the amount to “0” & select “Save”
Selecting “Save” will complete the process.
Make sure to set the reason why you have made this change, so if any staff need to come back and find out why, they will know.
Since your product is sold out, the number you should re-enter is 0.
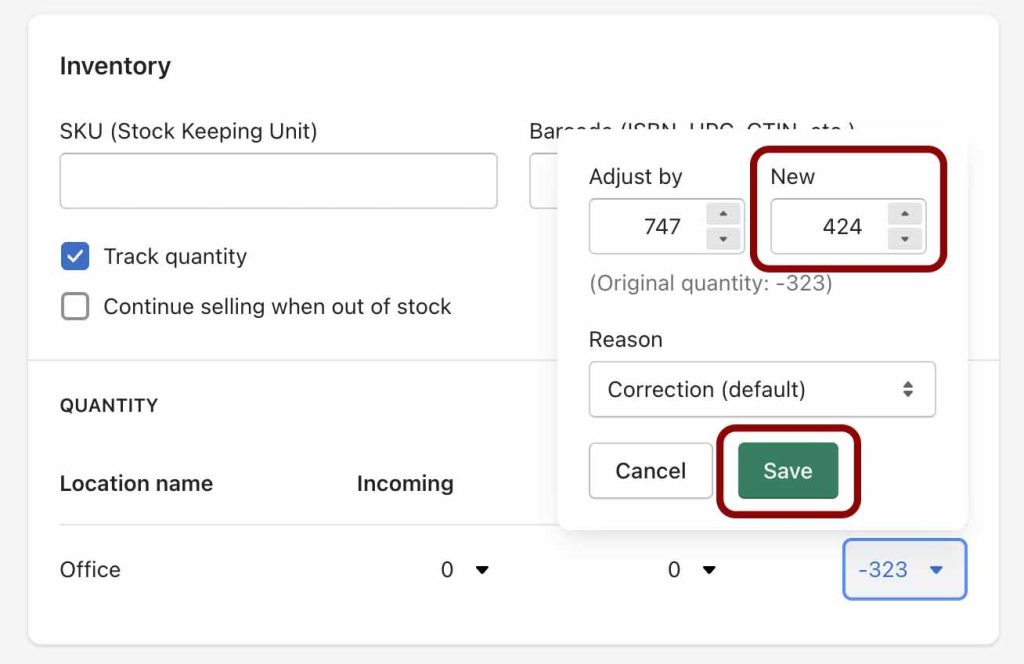
Once you’ve updated the quantity to 0, verify that the quantity reads back the correct amount. In the inventory screen, under “Quantity”, it should reflect 0 products available. Double-check that you have entered this number correctly, and select “Save”.
Video tutorial to set “Sold out” on products
Final thoughts
Selling through a product is great news and usually indicates that our business is doing well. Just follow these eight simple steps to update your Shopify inventory, so you can avoid messy oversell situations.